

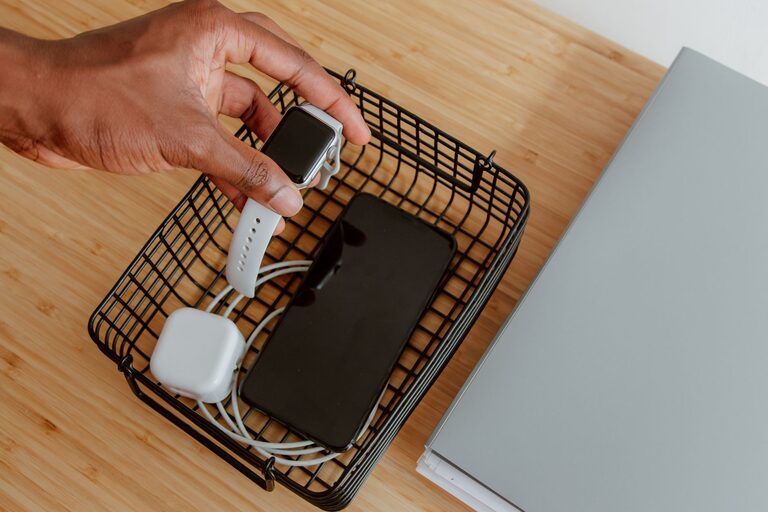
Setting up a dedicated charging station for your devices can make daily life simpler and more organized. Whether you have multiple smartphones, tablets, laptops, or other rechargeable gadgets, having a single spot to charge them keeps cords tidy and ensures your devices are always ready to use. This guide will walk you through the process of creating an efficient and user-friendly charging station at home or in your office.
Why Create a Charging Station?
Charging multiple devices without a dedicated area often leads to cluttered cables, misplaced chargers, and devices left uncharged. A charging station helps by:
– Centralizing power sources
– Reducing cable tangles and clutter
– Making it easy to monitor device charging
– Protecting devices from damage or overheating
– Enhancing your workspace or living area’s tidiness
Step 1: Choose the Right Location
Select a spot that is:
– Easily accessible for everyone who needs to charge devices
– Close to power outlets
– Well-ventilated to prevent overheating
– Away from water or high-traffic areas to avoid accidents
Common choices include a desk, kitchen counter, living room shelf, or a small table near the entryway.
Step 2: Gather Necessary Supplies
To build your charging station, you’ll need some basic items:
– A power strip with multiple outlets (preferably with surge protection)
– USB charging hubs or wall adapters that can handle several devices simultaneously
– Cable organizers like clips, ties, or sleeves
– Storage boxes or trays for chargers and devices
– Labels (optional) to identify cords or charging spots
– A small lamp or light source (optional for dim areas)
Step 3: Select Appropriate Charging Devices
Decide how you want to charge your gadgets:
– USB Hubs: Ideal if most of your devices charge via USB cables (phones, tablets, earbuds).
– Wireless Chargers: Perfect for compatible smartphones or smartwatches, reducing cable clutter.
– Standard Outlets: For laptops or devices that require their own power brick.
Make sure the power supply matches your devices’ voltage and current requirements to ensure safe charging.
Step 4: Organize and Manage Cables
Unorganized cables can defeat the purpose of a charging station. Use these tips:
– Bundle excess cable length with Velcro ties or twist ties.
– Use cable clips to secure cords along the edge of the table or walls.
– Label cables to quickly identify which device they belong to.
– Consider a cable management box to hide power strips and cables for a cleaner look.
Step 5: Create Device Slots or Holders
Having dedicated slots or holders for devices helps keep them upright and accessible. You can use:
– Simple trays or boxes
– Stand-up holders designed for phones and tablets
– DIY solutions, like repurposed drawer organizers or bookends
Ensure the holders allow for easy plugging and unplugging without bending cables.
Step 6: Set Charging Rules and Habits
To keep your charging station effective:
– Encourage family members or coworkers to place their devices in the station.
– Do a quick daily check to unplug fully charged devices to free up spots.
– Regularly inspect cables and chargers for any damage.
Bonus Tips for an Enhanced Charging Station
– Add a small clock or timer to help monitor charging times.
– Use a power strip with individual switches to turn off unused outlets.
– Include a small cleaning cloth to wipe devices after use.
– Personalize the station with decals, paint, or labels for a fun touch.
Conclusion
Setting up a charging station is a practical way to manage multiple devices while reducing clutter. By choosing the right location, organizing cables efficiently, and selecting appropriate chargers, you can create a neat and functional space that keeps all your gadgets powered up and ready to go. Whether at home or work, a dedicated charging station simplifies your routine and helps you stay connected without the hassle of tangled cords or lost chargers.
With a little planning and creativity, your charging station can become a valuable part of your daily tech setup. Start today and enjoy a clutter-free charging experience!